If you have specific add-ons or accessories you’d like to draw attention to in your showroom or at the parts counter, you are able to print custom price tags with detailed information about each item.
After choosing a product on the B2B platform, you can access the Price Tags field by clicking on the List & Print Options button in the list widget.

On the list page, there are four tabs; click on the second one (titled Price Tags). This is what it should look like:
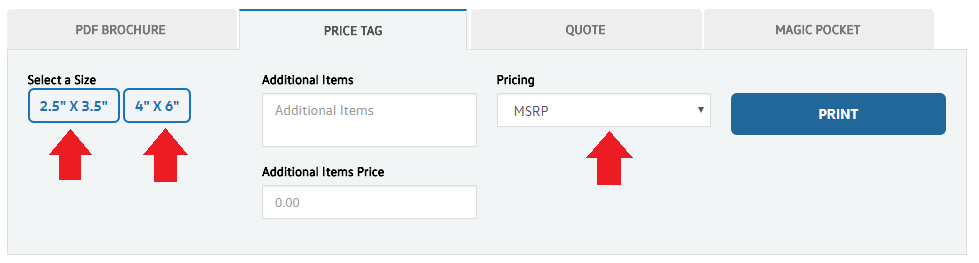
You can pick MSRP, MSRP + Installation, Online Price, Online Price Installed, or Our Price, which will be displayed on the price tag. You can make Price Tags for custom items by entering the description in the Additional Items box and the price in the Additional Items Price box. Once you’ve entered the necessary information, click the Print button to print out Price Tags in your selected size.
Price Tags come in two sizes: 2.5 x 3.5 in and 4 x 6 in (both shown below).

The price tags will display:
Brand Logo
Product Name
Product Number
Product Price
